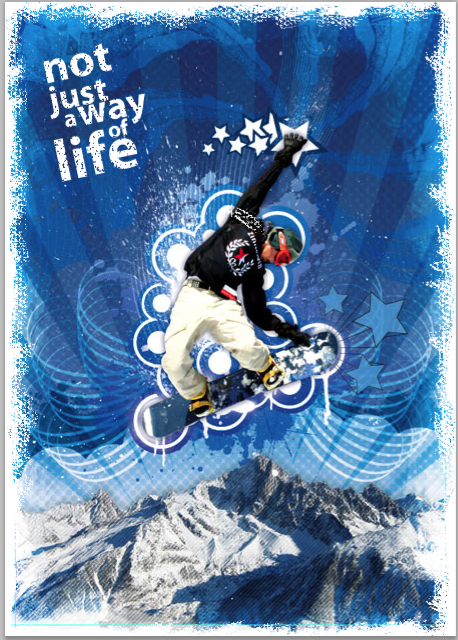
How to Combine Pixel and Vector to Produce Striking Artwork - Part Two
Back in Part
One of the walkthrough we setup the basics of the design by clipping out and
placing in the base photographs and began adding the vector elements.
Now in
the second and final part we will continue adding elements and resources to
finish off the artwork into a stunning composition.
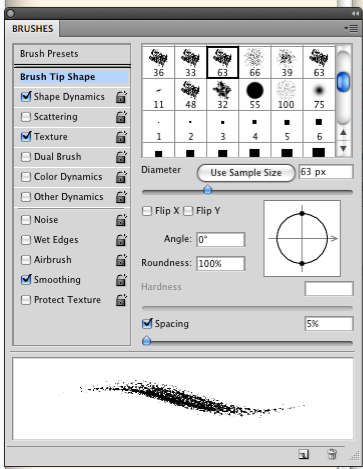
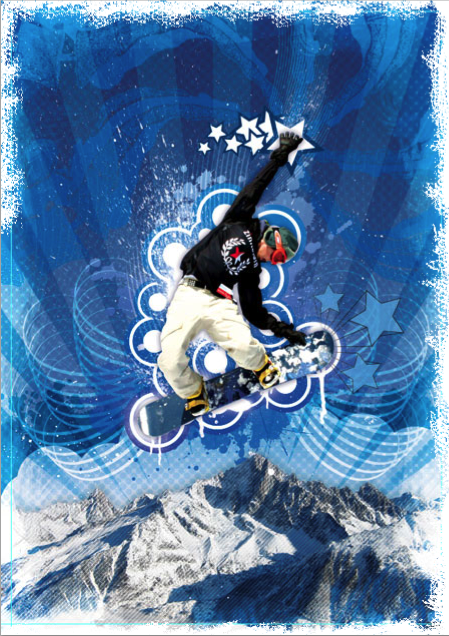
Now add a border: use the brush tool set for this:
Now you need to add some text. You will do this in Illustrator. Remember yesterday's tip, your text needs to be designed like a puzzel.
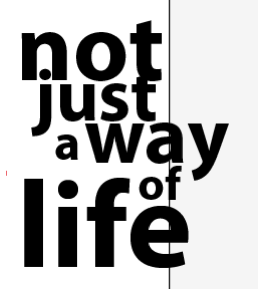
Now copy your text into Photoshop and add an effect Filter > sketch> Torn Edges to finish up the look.
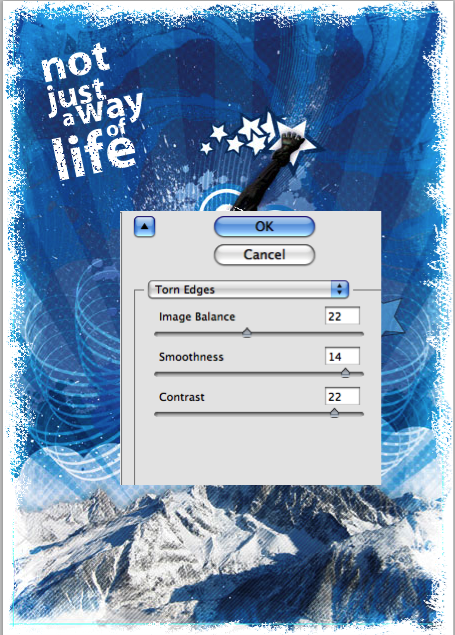
Now you have completed the tutorial, print and place in your binder.
